# Deploy
Redwood is designed for serverless architecture deployment, offering a unique continuous deployment process:
- code is committed to a repository on GitHub, GitLab, or Bitbucket, which triggers the deployment
- the Redwood API Side and Web Side are individually prepared via a build process
- during the build process, any database related actions are run (e.g. migrations)
- the hosting provider deploys the built Web static assets to a CDN and the API code to a serverless backend (e.g. AWS Lambdas)
Currently, these are the officially supported deploy targets:
Redwood has a CLI generator that adds the code and configuration required by the specified provider (see the CLI Doc for more information):
yarn rw generate deploy <provider>
There are examples of deploying Redwood on other providers such as Google Cloud and direct to AWS. You can find more information by searching the GitHub Issues and Forums.
# General Deployment Setup
Deploying Redwood requires setup for the following four categories.
# 1. Host Specific Configuration
Each hosting provider has different requirements for how (and where) the deployment is configured. Sometimes you'll need to add code to your repository, configure settings in a dashboard, or both. You'll need to read the provider specific documentation.
The most important Redwood configuration is to set the apiProxyPath in your redwood.toml This sets the API path for your serverless functions specific to your hosting provider.
# 2. Build Command
The build command is used to prepare the Web and API for deployment. Additionally, other actions can be run during build such as database migrations. This is the current default Redwood build command:
yarn rw build && yarn rw db up --no-db-client --auto-approve && yarn rw dataMigrate up
# 3. Prisma and Database
Redwood uses Prisma for managing database access and migrations. The settings in api/prisma/schema.prisma must include the correct deployment database, e.g. postgresql, and the database connection string.
It is possible to use a different database type for local development and production. To do this, you need to use the Prisma dynamic provider syntax. For example, to use SQLite locally and PostgreSQL in production, include this in your schema.prisma:
datasource DS {
  provider = ["sqlite", "postgresql"]
  url      = env("DATABASE_URL")
}
The url setting above accesses the database connection string via an environment variable, DATABASE_URL. Using env vars is the recommended method for both ease of development process as well as security best practices.
Whenever you make changes to your schema.prisma, you must run the following commands:
$ yarn rw db save # creates a new Prisma DB migration
$ yarn rw db up # applies the new migration to your local DB
Don't forget to save, commit, and push any changes prior to deploying!
# 4. Environment Variables
Any environment variables used locally, e.g. in your env.defaults or .env, must also be added to your hosting provider settings. (See documentation specific to your provider.)
Additionally, if your application uses env vars on the Web Side, you must configure Redwood's build process to make them available in production. See the Redwood Environment Variables doc for instructions.
# Netlify Deploy
# Netlify tl;dr Deploy
If you simply want to experience the Netlify deployment process without a database and/or adding custom code, you can do the following:
- create a new redwood project:
yarn create redwood-app ./netlify-deploy - after your "netlify-deploy" project installation is complete, init git, commit, and add it as a new repo to GitHub, BitBucket, or GitLab
- run the command
yarn rw generate deploy netlifyand commit and push changes - use the Netlify Quick Start to deploy
# Netlify Complete Deploy Walkthrough
For the complete deployment process on Netlify, see the Tutorial Deployment section.
# Vercel Deploy
The following instructions assume you have read the General Deployment Setup section above.
# Vercel tl;dr Deploy
If you simply want to experience the Vercel deployment process without a database and/or adding custom code, you can do the following:
- create a new redwood project:
yarn create redwood-app ./vercel-deploy - after your "vercel-deploy" project installation is complete, init git, commit, and add it as a new repo to GitHub, BitBucket, or GitLab
- run the command
yarn rw generate deploy verceland commit and push changes - use the Vercel Quick Start to deploy
If you choose this quick deploy experience, the following steps do not apply.
# Redwood Project Setup
If you already have a Redwood project, proceed to the next step.
Otherwise, we recommend experiencing the full Redwood DX via the Redwood Tutorial. Simply return to these instructions when you reach the "Deployment" section.
# Redwood Deploy Configuration
Complete the following two steps. Then save, commit, and push your changes.
# Step 1. Serverless Functions Path
Run the following CLI Command:
yarn rw generate deploy vercel
This updates your redwood.toml file, setting apiProxyPath = "/api":
# Step 2. Database Settings
Follow the steps in the Prisma and Database section above. (Skip this step if your project does not require a database.)
# Vercel Initial Setup and Configuration
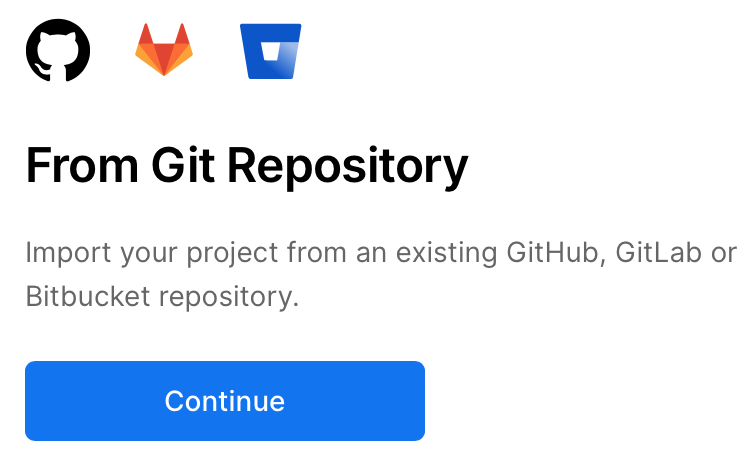
Either login to your Vercel account and select "Import Project" or use the Vercel quick start.
Then select the "Continue" button within the "From Git Repository" section:
Next, select the provider where your repo is hosted: GitHub, GitLab, or Bitbucket. You'll be asked to login and then provider the URL of the repository, e.g. for a GitHub repo https://github.com/your-account/your-project.git. Select "Continue".
You'll then need to provide permissions for Vercel to access the repo on your hosting provider.
# Import and Deploy your Project
Vercel will recognize your repo as a Redwood project and take care of most configuration heavy lifting. You should see the following options and, most importantly, the "Framework Preset" showing RedwoodJS.
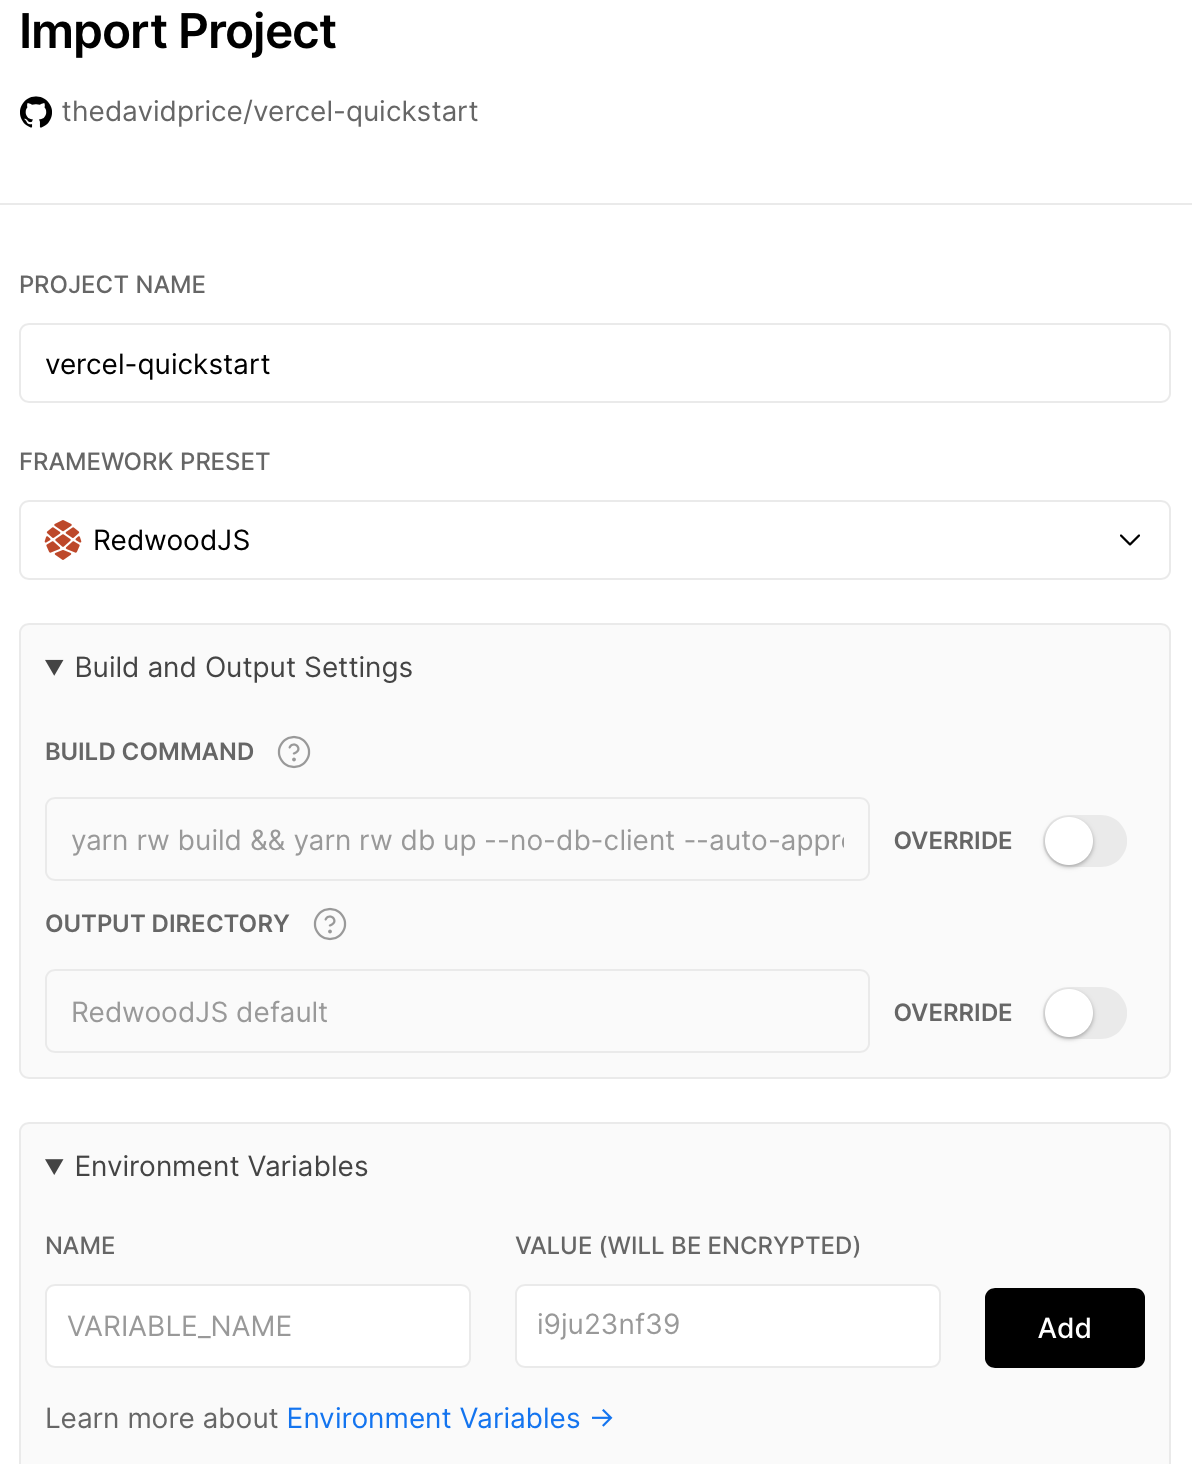
Leave the Build and Output Settings at the default settings (unless you know what you're doing and have very specific needs).
In the "Environment Variables" dropdown, add DATABASE_URL and your app's database connection string as the value. (Or skip if not applicable.)
When configuring a database, you'll want to append
?connection_limit=1to the URI. This is recommended by Prisma when working with relational databases in a Serverless context. For production apps, you should setup connection pooling.
For example, a postgres connection string should look like postgres://<user>:<pass>@<url>/<db>?connection_limit=1
Finally, click the "Deploy" button. You'll hopefully see a build log without errors (warnings are fine) and end up on a screen that looks like this:
Go ahead, click that "Visit" button. You’ve earned it 🎉
# Vercel Dashboard Settings
From the Vercel Dashboard you can access the full settings and information for your Redwood App. The default settings seem to work just fine for most Redwood projects. Do take a look around, but be sure check out the docs as well.
From now on, each time you push code to your git repo, Vercel will automatically trigger a deploy of the new code. You can also manually redeploy if you select "Deployments", then the specific deployment from the list, and finally the "Redeploy" option from the vertical dots menu next to "Visit".
# AWS Serverless Deploy
The following instructions assume you have read the General Deployment Setup section above.
Deploying via AWS Serverless assumes that you have setup the credentials for the Serverless Framework on your computer. In order to setup your Redwood project to use AWS Serverless run: yarn rw generate deploy aws_serverless
Once that's complete you can invoke a deployment via: yarn rw deploy api aws_serverless. This command will take care of building, packaging, and shipping your AWS Serverless functions.